How To Epoxy Garage Floor: An Easy Guide to Transforming Your Garage
How To Epoxy Garage Floor Like The Pros
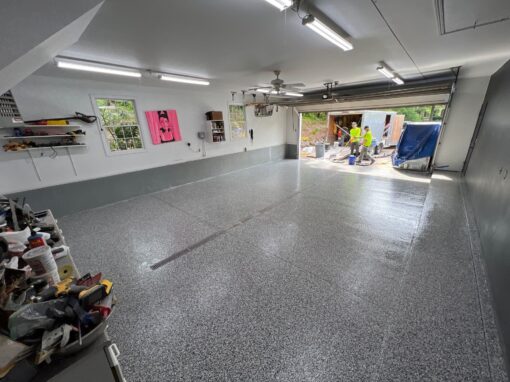
Your garage floor takes a beating. From oil spills to constant foot traffic, it’s no wonder it often looks dull and worn. Use an epoxy coating if your garage floor is in bad condition and you want a new, clean, and strong finish. This guide will help you achieve a professional epoxy garage floor by explaining each step, from preparation to cleanup.
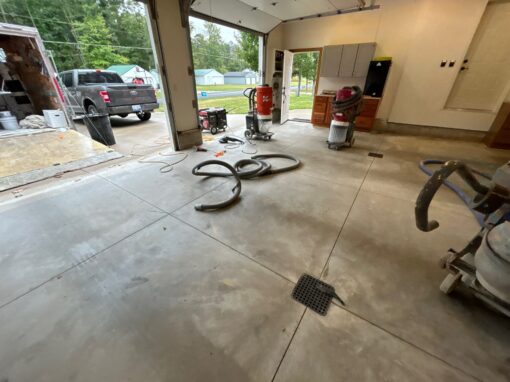
Prepare the Concrete Surface
- Before applying epoxy to your garage floor, prepare the concrete surface. This crucial step ensures the epoxy adheres properly and creates a long-lasting finish. Here’s how to do it:
- Clear the Area: Start by removing everything from your garage. This includes cars, tools, and any other items that may be in the way. An empty garage is easier to work in and provides better access to the entire floor.
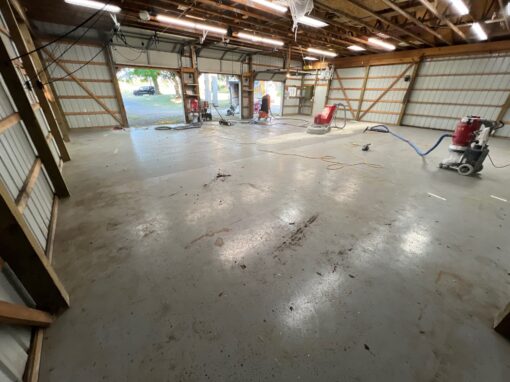
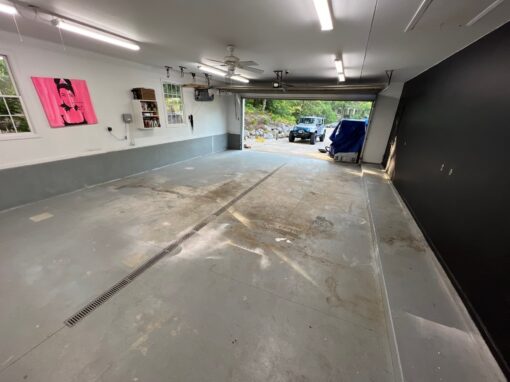
- Clean Thoroughly: Sweep the floor to remove loose dirt and debris. Then, use a power washer or a hose with a high-pressure nozzle to clean the surface thoroughly. Tough stains or oil spots need extra care. Use a degreaser or cleaning solution to clean them.
- Rinse well and let the floor dry completely. This step is critical, as any remaining dirt or moisture can affect the epoxy’s adhesion.
- Repair Any Damage: Inspect the concrete for cracks, holes, or imperfections. Repair these areas using an appropriate concrete patching compound. Follow the manufacturer’s instructions, and ensure the patched areas are smooth and level with the rest of the floor.
- Etching the Surface: Etching the concrete is essential to create a rough texture that allows the epoxy to adhere better. You can use an etching solution or muriatic acid diluted with water. Follow the instructions carefully, and wear protective gear such as gloves and goggles. After etching, rinse the floor thoroughly and let it dry.
Select the Right Epoxy Product
- Choosing the right epoxy product is crucial for a successful garage floor makeover. Not all epoxies are equal; you should choose one specifically designed for garage floors. Here’s what to consider when selecting your epoxy:
- Solvent-Based or Water-Based: Epoxy coatings come in solvent- and water-based formulations. Solvent-based epoxies are more durable and chemical resistant, making them ideal for garage floors. Water-based epoxies are easier to work with and have lower VOC emissions but may not be as robust.
- Gloss Level: Decide on the gloss you want for your garage floor. Epoxies are available in various finishes, from high-gloss to satin. The glossier the finish, the more it will reflect light and enhance the overall appearance of your garage.
- Coverage and Thickness: Check the product specifications for coverage per gallon and recommended thickness. You’ll need to calculate the amount of epoxy required based on the size of your garage floor.
- Epoxy kits have different colors to choose from, so you can personalize your garage floor’s appearance. Some kits also include decorative flakes or chips that can add texture and visual interest.
- Read Reviews and Ask for Recommendations. Before deciding, read reviews and ask experts or DIY enthusiasts with epoxy garage floor coating experience for recommendations.
Mix the Epoxy Resin and Hardener
- Once you have your epoxy kit ready, it’s time to mix the epoxy resin and hardener. Proper mixing is crucial to ensure the epoxy cures correctly and provides a durable finish. Follow these steps:
- Read the Instructions: Always read the manufacturer’s instructions for your epoxy kit. Different products may have specific mixing ratios and pot life.
- Prepare Mixing Tools: Wear appropriate protective gear, gloves, and safety glasses. Use a clean, sturdy mixing bucket and a drill with a mixing paddle attachment for efficient mixing.
- Measure and Mix: Measure the epoxy resin and hardener according to the instructions. Pour them into the mixing bucket and use the drill to mix the components. Scrape the sides and bottom of the bucket to ensure a homogenous blend.
- Watch the Pot Life: Epoxy has a set time to apply before it starts hardening. Be mindful of the pot life and work efficiently to avoid wasting epoxy.
Apply the Epoxy Coating
Now that your epoxy is mixed and ready, it’s time to apply it to your garage floor. Follow these steps for a smooth application:
- Cut in the Edges: Start by cutting in the edges of your garage floor with a brush or roller. This means applying a thin coat of epoxy along the edges and corners where a roller may not reach easily. This step ensures a uniform look and prevents uneven buildup of epoxy along the edges.
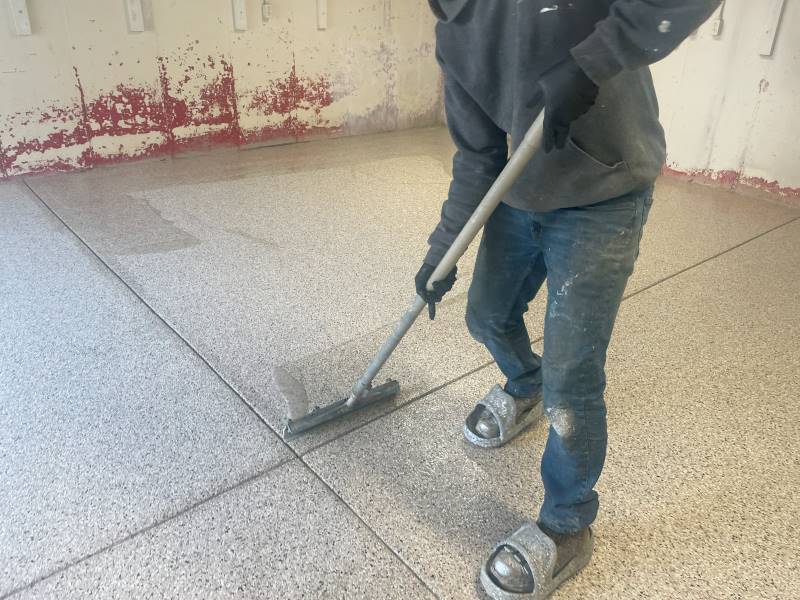
- Roll the epoxy onto the floor using a paint roller with a long handle. Work in small sections to maintain control and ensure an even coat. Roll the epoxy in a back-and-forth motion, slightly overlapping each pass to avoid streaks.
- Apply a second coat of epoxy if desired. Depending on the product and desired finish, you can do it after the first coat has dried. Follow the recommended drying time between coats, typically around 12-24 hours.
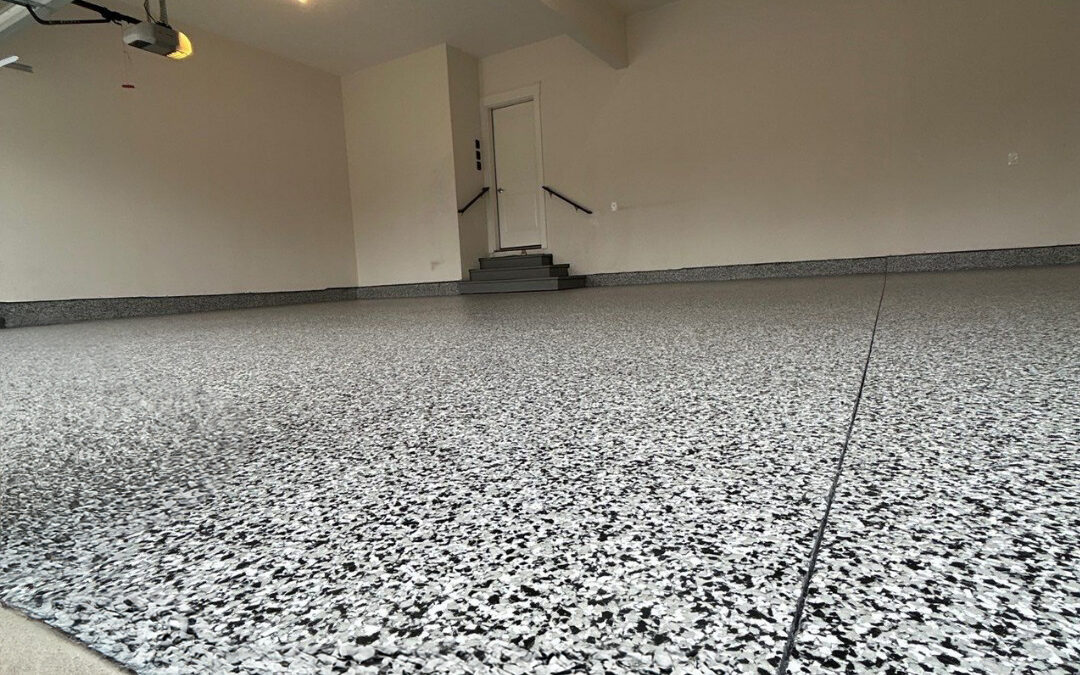
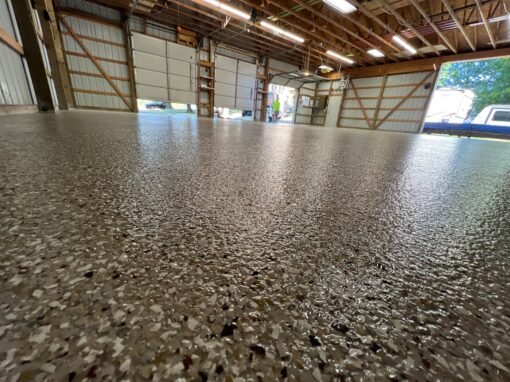
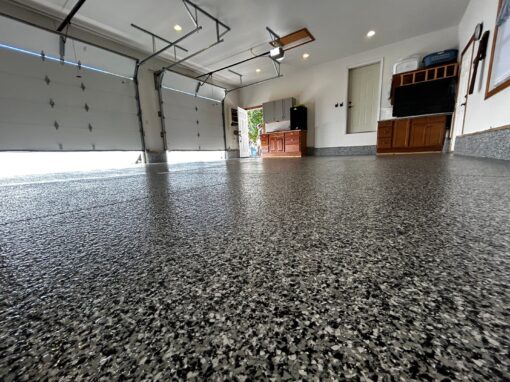
- If desired, add decorative flakes. Sprinkle them onto the wet epoxy while applying the topcoat. This will enhance the look. These flakes not only add visual appeal but also provide texture and traction.
- After applying epoxy and other coatings or additives, Let the floor cure for the recommended time. This can vary but usually takes several days to a week.
Add a Protective Layer
While epoxy coatings are durable, adding an extra layer of protection can extend their lifespan and enhance their performance. Consider applying a clear urethane sealer over the cured epoxy. Here’s how:
- Ensure the epoxy is fully cured and clean to prepare the surface. Remove any dust or debris from the surface.
- Choose the Urethane Sealer: Select a high-quality, clear urethane sealer over epoxy-coated surfaces. Read the product instructions for specific recommendations.
- Apply the Sealer: Use a clean roller or brush to apply the urethane sealer evenly over the epoxy surface. Follow the manufacturer’s guidelines for coverage and drying times.
- Allow to Cure: Let the sealer cure according to the manufacturer’s instructions. This typically takes 24 to 48 hours but may vary depending on the product.
The extra urethane sealer protects and improves the shine and durability of your epoxy coating from damage.
Clean up Any Excess Epoxy
- With your garage floor looking sleek and protected, it’s time to clean up any excess epoxy. Here’s how to do it:
- Tools and Equipment: Clean your tools, brushes, rollers, and buckets used for the epoxy application immediately after use. Use mineral spirits or the recommended solvent provided by the epoxy manufacturer to remove any epoxy residue.
- Dispose of Waste Properly: Dispose of any epoxy waste, including used brushes or rollers, according to local regulations. Epoxy can be hazardous if not handled and disposed of correctly.
- Clean up epoxy spills on the floor or other surfaces right away while it’s still wet. Use mineral spirits or the recommended solvent to remove the epoxy. For dried epoxy spills, you may need to scrape them away carefully.
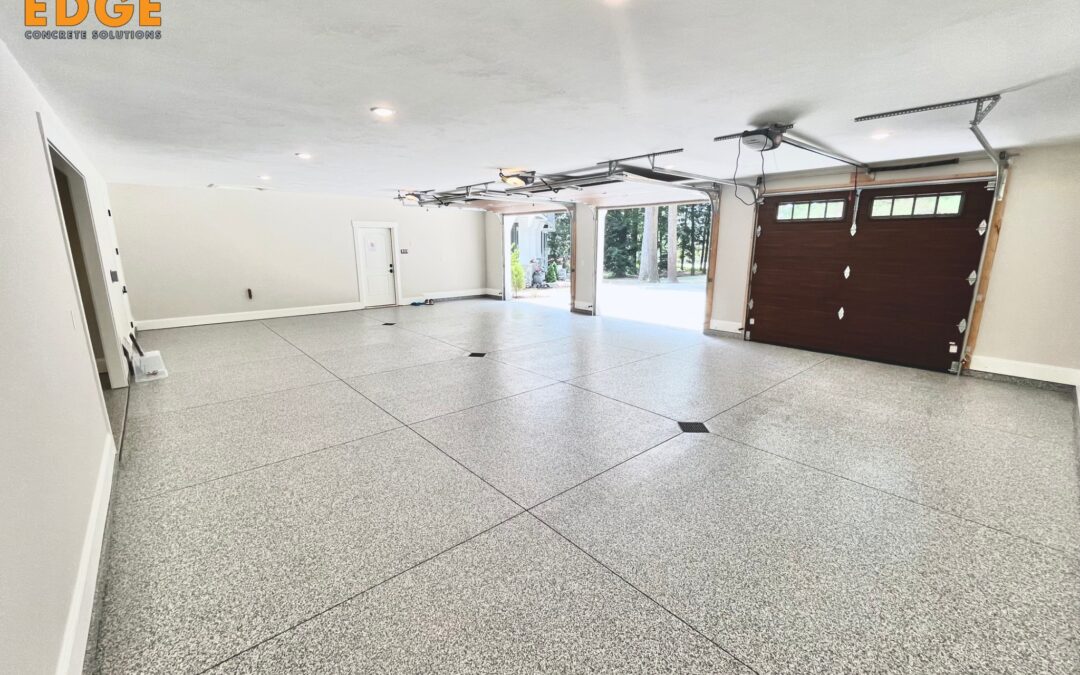
Congratulations! You’ve successfully transformed your garage floor with epoxy coating. It looks great and is now very durable, making cleaning and caring for it easier.
Your garage is now a place for your vehicles and tools. It is also an extension of your home. You can be proud of it. Enjoy your newly upgraded garage, and relish the satisfaction of a well-done job.

I’m Nathan Endres, owner of Premier Edge Concrete Solutions. I ensure every project showcases quality and excellence. Specializing in landscape curbing and floor coatings, my team and I serve Grand Rapids, MI, with a focus on providing reliable and affordable craftsmanship.
