A Step-by-Step Guide to Installing a Durable Basement Epoxy Floor
Are you looking for an easy yet effective way to spruce up your basement? A basement epoxy floor can be the perfect solution! Not only is it a great way to add color and personality to your space, but epoxy floors are extremely durable. Plus, they’re vocal about standing in some tough conditions such as chronic moisture problems or extreme temperatures. So if you want a reliable flooring option in your home, then this guide is for you. Read on for a step-by-step guide on how to install a lasting basement epoxy floor.
Preparing the Basement for Installation
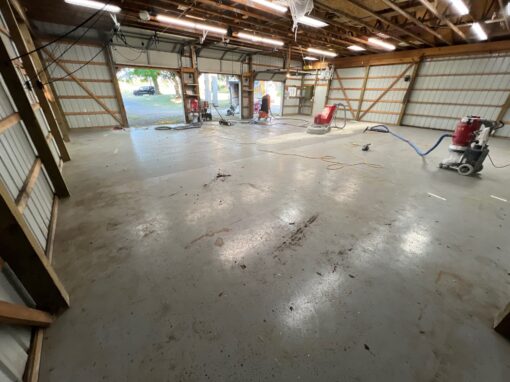
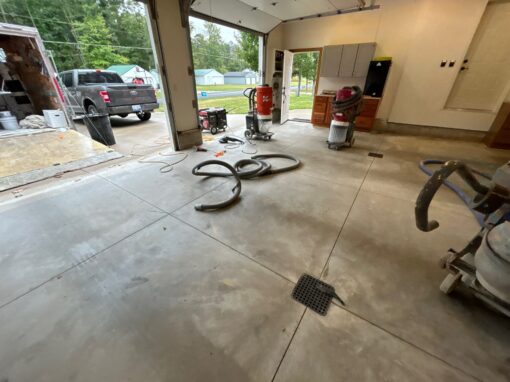
Before installing anything in your basement, it’s essential to prepare the area properly. This involves removing any furniture, boxes, and other items that may be cluttering the space to ensure you have ample room to work with. Once everything has been cleared out, it’s time to give the area a thorough cleaning. Vacuum the space to remove any dust or debris that may have accumulated. The cleaner the area, the easier it will be to work in and ensure that everything is installed correctly. Taking the time to prepare the basement for epoxy floor coating will not only save you time in the long run, but it’ll also give you peace of mind knowing that everything was done correctly.
Measuring the Room
Embarking on an epoxy flooring project requires careful planning and measurement. Accurately measuring your space is crucial to determining the right amount of material needed for the job. Over or underestimating could lead to complications like running out of epoxy mixture or dealing with excess material. To avoid these issues, take the time to measure precisely using the appropriate tools. By doing so, you’ll save yourself time, and money, and avoid unnecessary headaches in the long run.
Remember, accurate measurements are the foundation for a successful epoxy flooring installation. Don’t overlook their significance. Taking measurements before starting the project ensures that you get the job done correctly the first time around. This attention to detail sets the stage for a durable and visually appealing epoxy floor.
In addition to measuring, consider other factors such as surface preparation, ventilation, and safety precautions. Properly preparing the surface and ensuring sufficient ventilation are essential for a smooth and successful installation. Take the necessary steps to clean, repair, and prime the surface to create the ideal foundation for the epoxy coating. Lastly, remember the importance of safety. Wear protective gear, such as gloves and goggles, when handling and applying epoxy. Follow manufacturer instructions and guidelines for proper handling, curing time, and maintenance.
By following these steps and investing time and effort into accurate measurements and thorough preparation, you’ll achieve a beautiful and long-lasting epoxy floor that transforms your space. Don’t rush the process—take the necessary steps for a successful project.
Basement Epoxy Flooring
Applying a Primer
When undertaking a project to paint your floor with epoxy, it’s important to prepare the surface properly. Applying a primer or conditioner is essential to ensure the best possible adhesion of the epoxy paint. This step serves to not only improve the final appearance of the painted surface but also increase its durability. By taking the time to properly prime and condition your concrete floor, you can ensure that the epoxy adheres to the surface as it should, and is able to withstand heavy traffic, spills, and other everyday wear and tear. For optimal results, it’s best to follow the manufacturer’s instructions for selecting and applying the primer or conditioner. With the right preparation, you’ll be able to achieve a beautiful, long-lasting finish that enhances both the look and functionality of your space.
Mixing the Epoxy Paint
Mixing epoxy paint requires careful attention to the ratio of resin and hardener. It’s easy to assume that more of one component will yield better results, but the reality is that precise measurements are critical. The resin and hardener work together to create a chemical reaction that forms a durable, long-lasting finish. Deviating from the recommended ratio can lead to issues such as uneven curing, soft spots, or a tacky surface that never fully dries. By following the instructions carefully, you can ensure that your epoxy paint mixture will perform as intended and provide you with a high-quality finish. So, take the time to measure your components accurately and mix them thoroughly for the best possible results.
Spreading an Even Layer of Paint
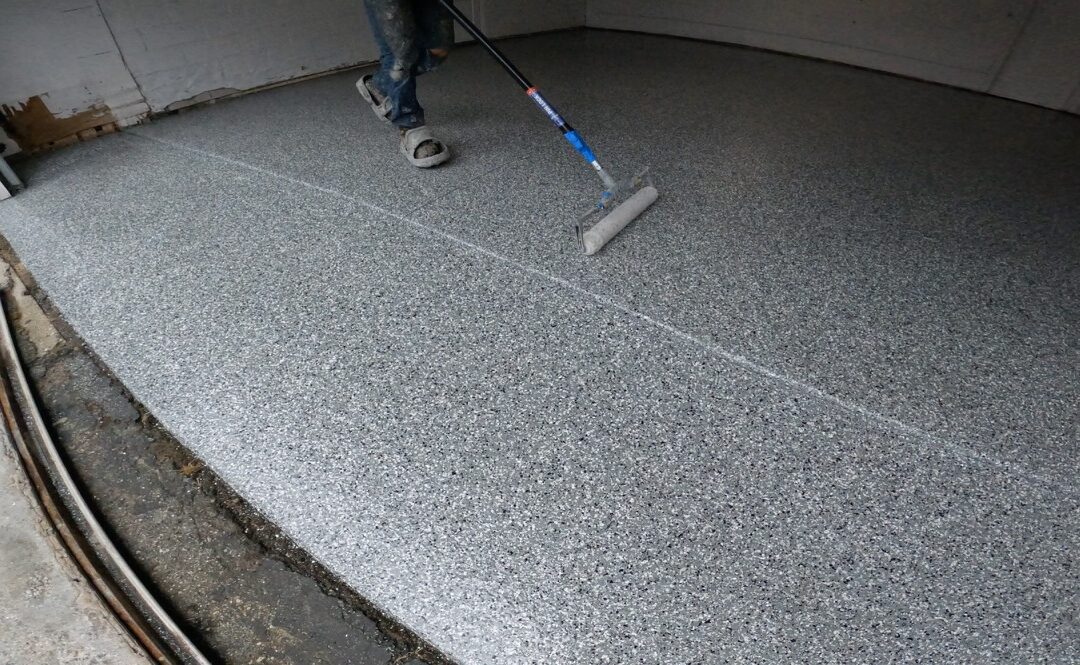
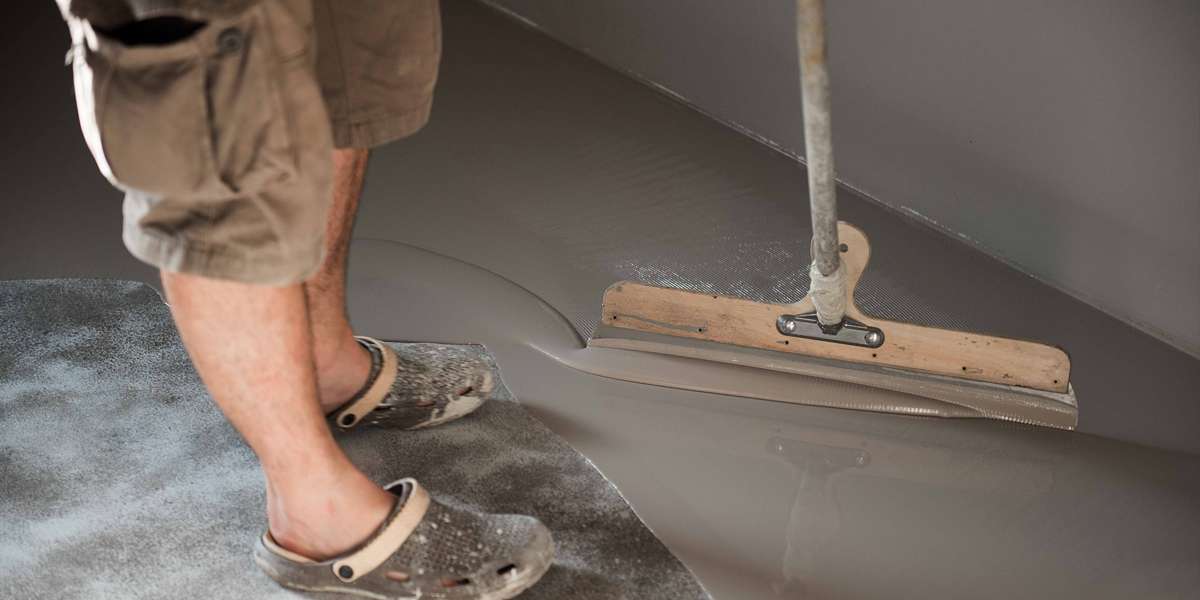
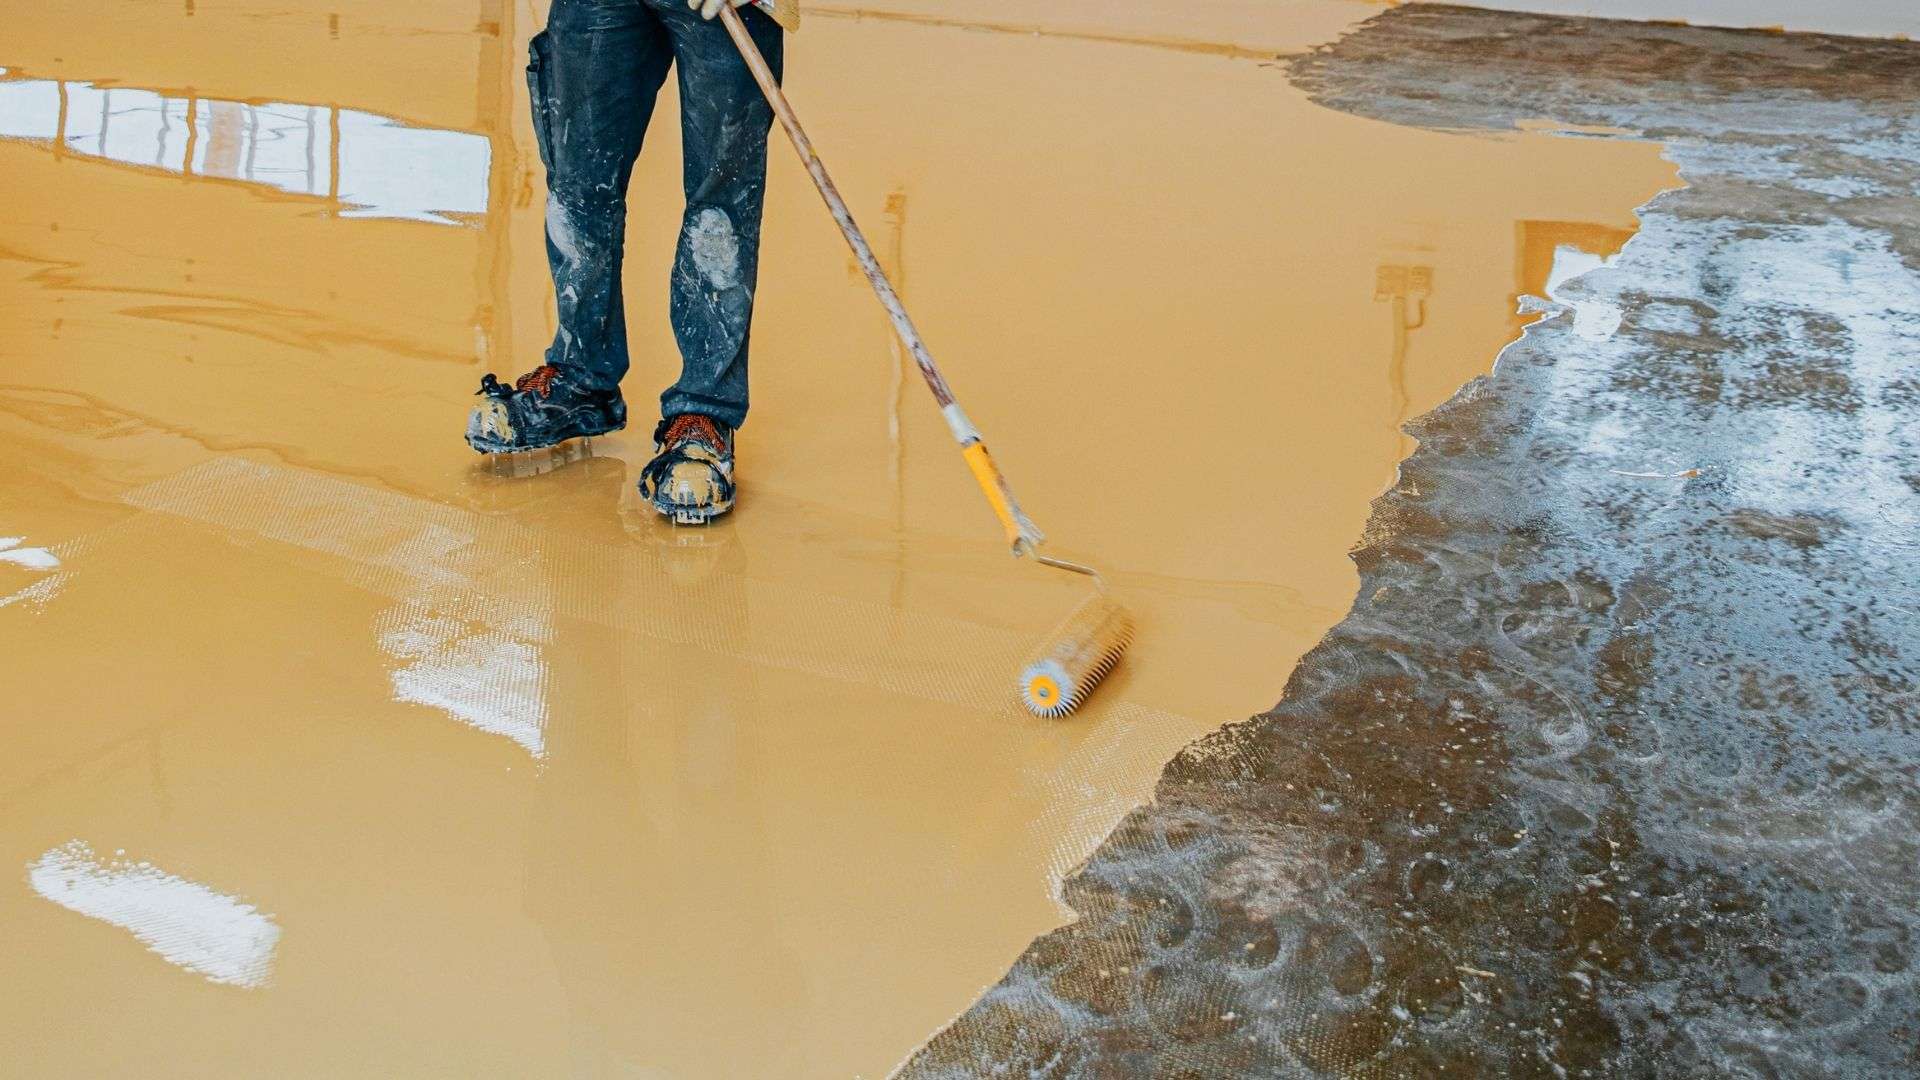
Achieving a flawless coating of epoxy paint on your basement floor requires careful consideration and technique. To begin, choose the appropriate tool for the job: a roller or brush, depending on the size of the area to be painted. Using either one, you can evenly distribute the paint across the concrete surface, resulting in a seamless and professional finish.
It is crucial not to rush the application process, as creating a well-distributed layer of paint demands patience. Take your time and apply the paint in smooth, even strokes, being mindful of avoiding streaks or bumps. By employing the right tools and techniques, you have the potential to give your basement floor a polished and refined appearance that will endure for years to come. Achieving this desired outcome requires a combination of patience, precise technique, and the use of appropriate tools. Take careful consideration of these factors, and your basement floor will be transformed into a visually stunning and long-lasting asset to your home.
Finishing Touches
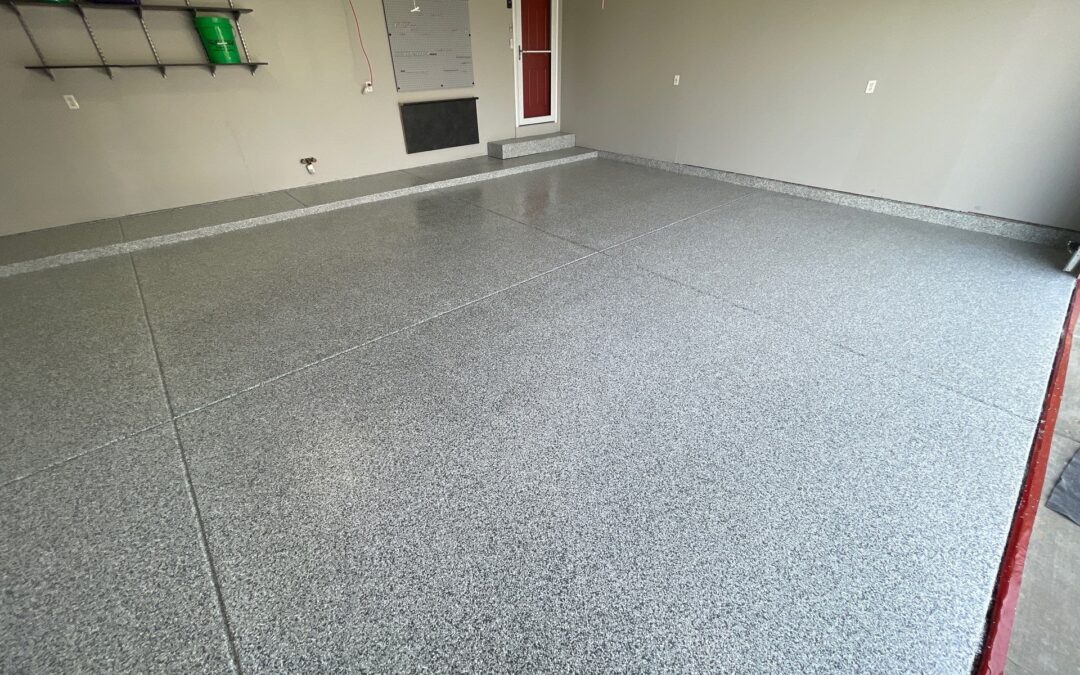
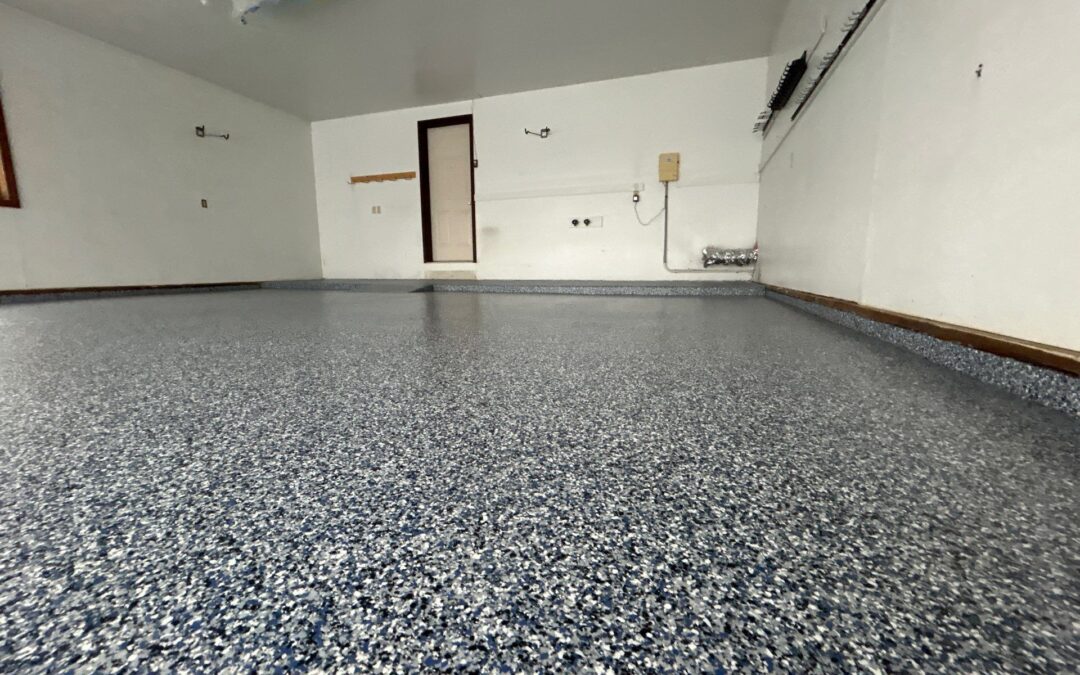
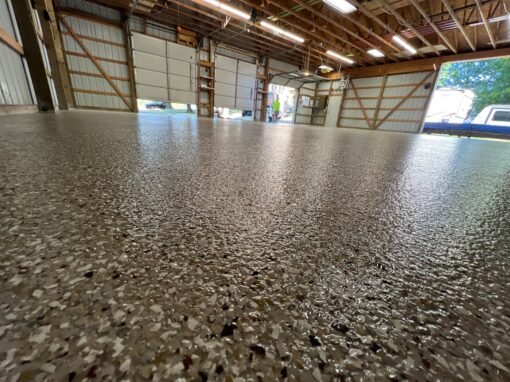
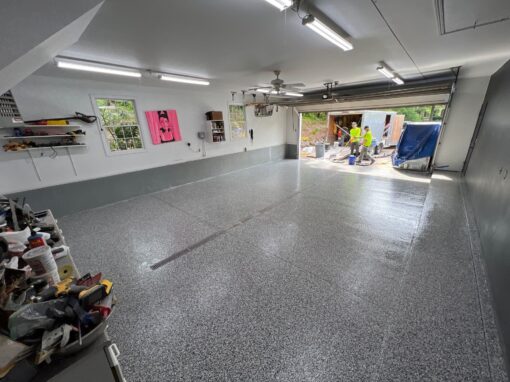
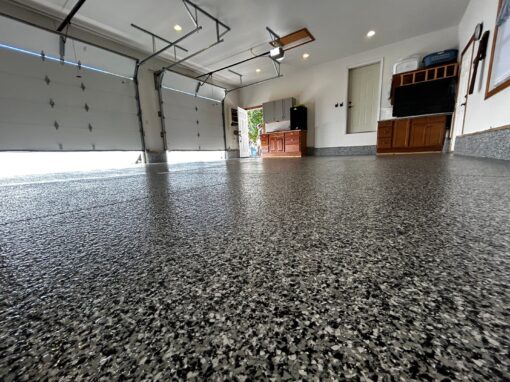
When it comes to putting the finishing touches on your new basement epoxy flooring, incorporating decorative chips or flakes into the wet paint can make a significant difference. Not only does it add a vibrant burst of color, but it also enhances the texture and durability of your floor. By providing an extra layer of protection, this decorative element helps prolong the lifespan of your flooring, ensuring it maintains a fresh and pristine appearance for years to come. These decorative chips or flakes are available in a wide range of colors and shapes, giving you the freedom to customize your floor according to your preferences. It’s remarkable how such a seemingly small detail can have a profound impact on the overall aesthetics of your space. Rest assured, our team of professionals is dedicated to helping you achieve the perfect finished product. Don’t hesitate to reach out to us for assistance and guidance throughout the process.
We hope this blog post has given you all the necessary information and insight that you need to properly prepare your basement for an epoxy floor installation. With a clean, prepped room, you can apply an even coat of epoxy paint with ease. To gain additional protection from spills and further give your epoxy-painted basement flooring added flair, don’t forget to customize it with decorative chips or flakes. Now it’s time to get started on your epoxy floor project! As always, if you have any questions or concerns along the way, please reach out to our team of professionals who are here ready to help and guide each step of the way!
Epoxy Paint
https://www.google.com/maps?cid=1810621540998150883.

I’m Nathan Endres, owner of Premier Edge Concrete Solutions. I ensure every project showcases quality and excellence. Specializing in landscape curbing and floor coatings, my team and I serve Grand Rapids, MI, with a focus on providing reliable and affordable craftsmanship.


