Transform Your Kitchen With Epoxy Kitchen Floor: A Comprehensive Guide
Experience the joy of stepping into your kitchen each morning with beautiful epoxy flooring that will energize and invigorate you. With gleaming shades of white and gray, this flooring will create a calm and clear atmosphere, transforming your kitchen into a dream space. Not only does it look amazing, but the seamless and durable surface makes cleaning up after culinary activities a breeze. Say goodbye to stress over spills and stains with epoxy’s hard-wearing qualities. In this comprehensive guide, we’ll cover everything you need to know about transforming your kitchen into a sleek and modern oasis with epoxy kitchen floor. Discover installation tips, cost considerations, decorating ideas, and maintenance best practices. Get ready to plan your dream floor makeover with confidence.
Transform Your Kitchen with Trendy and Functional Epoxy Flooring
Discover the latest sensation in kitchen design – epoxy flooring. Once reserved for commercial and industrial spaces, this durable and glossy surface is now taking the residential world by storm. With its stunning appearance and practical benefits, epoxy flooring is the ultimate choice for modern kitchens.
Say goodbye to stains and damage with epoxy flooring – its resilience makes it ideal for spaces prone to spills and heavy foot traffic. Plus, its seamless surface is incredibly easy to clean and maintain, ensuring your kitchen always looks its best. With a wide range of colors and patterns to choose from, you can easily create a sleek and stylish space that fits your unique taste.
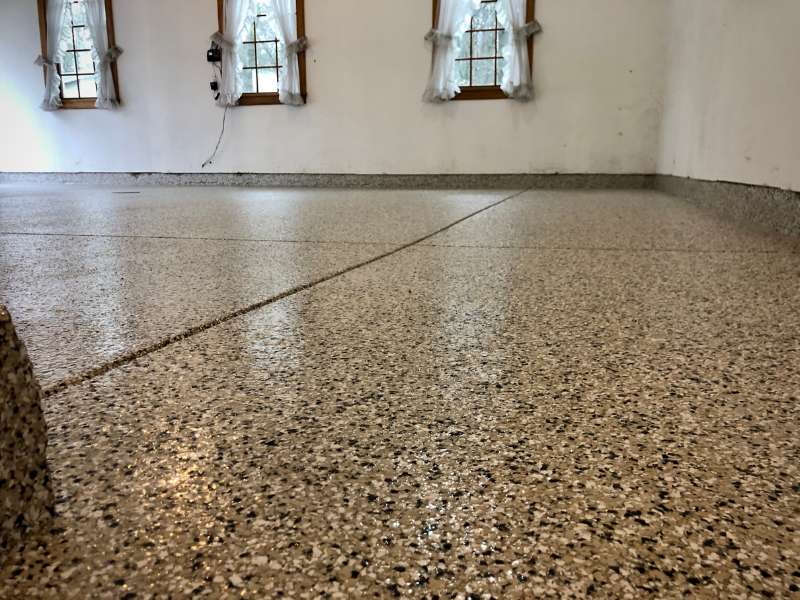
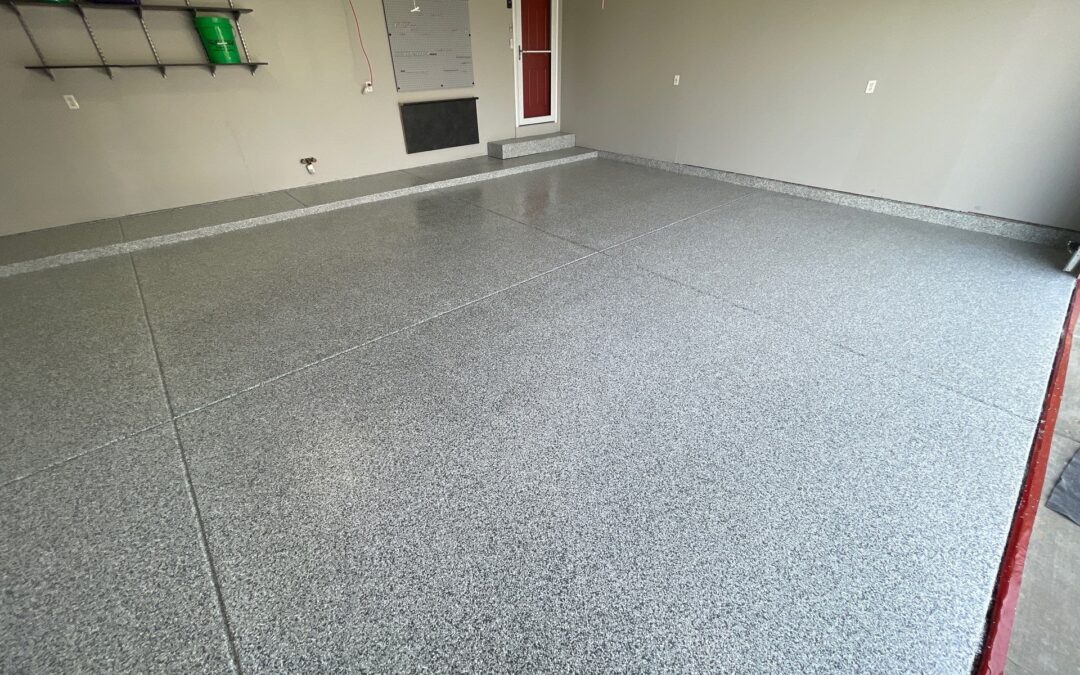
Epoxy Kitchen Floor
Choosing the Right Epoxy Flooring Color and Design for your Kitchen
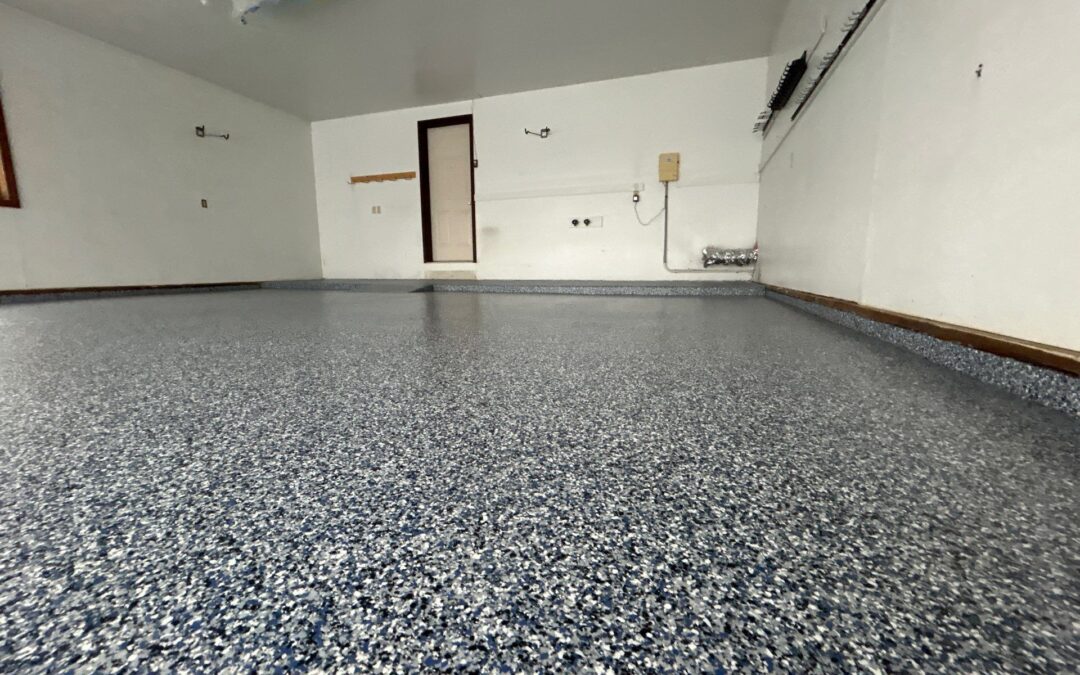
Choosing the right epoxy flooring color and design for your kitchen involves a balance of aesthetics and practicality. When it comes to color, neutrals such as grey or beige are popular choices as they can complement various kitchen styles from modern to rustic. For something more adventurous, try a bold color like deep blue or forest green. The high-gloss finish of epoxy can make these colors stand out and add a pop of personality to your kitchen. On the other hand, the design is where you can truly let your creativity shine. Epoxy flooring allows for unique textures, patterns, or even 3D designs that can make your kitchen floor a true work of art. However, it’s crucial to keep in mind the overall look and feel of your kitchen and home when deciding on both color and design. You want your new epoxy floor to enhance and harmonize with your existing decor, not clash with it.
Save Money with Epoxy Flooring: A Budget-Friendly Choice for Your Kitchen
Looking for a cost-effective flooring option? Look no further than epoxy flooring. Compared to traditional materials like tile or hardwood, epoxy flooring offers significant savings without sacrificing durability or style. With prices often less than half of other flooring types, epoxy is a smart choice for your kitchen. Plus, its long lifespan and low-maintenance nature mean you’ll save on upkeep costs in the long run. While the upfront investment may seem high, the benefits of epoxy flooring make it a wise and budget-friendly decision for any kitchen.
Pre-installation Tips for Epoxy Flooring
Before installing epoxy flooring in your kitchen, it’s essential to adequately prepare your space, ensuring a smooth and successful installation process. Start by removing any furniture or appliances from your kitchen. The goal is to expose the entire floor area where the epoxy will be applied.
Next, thoroughly clean the floor to remove any dirt, grease, or existing coatings. This step is crucial, as epoxy needs a clean and porous surface to properly adhere. It could involve deep cleaning, sanding or acid etching, depending on the state of the current floor.
Finally, although DIY epoxy flooring kits are readily available, hiring a professional installer is highly recommended. Epoxy flooring installation requires precision and expertise to avoid bubbles, uneven surfaces, or peeling. An experienced professional can ensure a flat, glossy finish that will last for years to come.
Step-by-Step Installation Process and Common Mistakes to Avoid
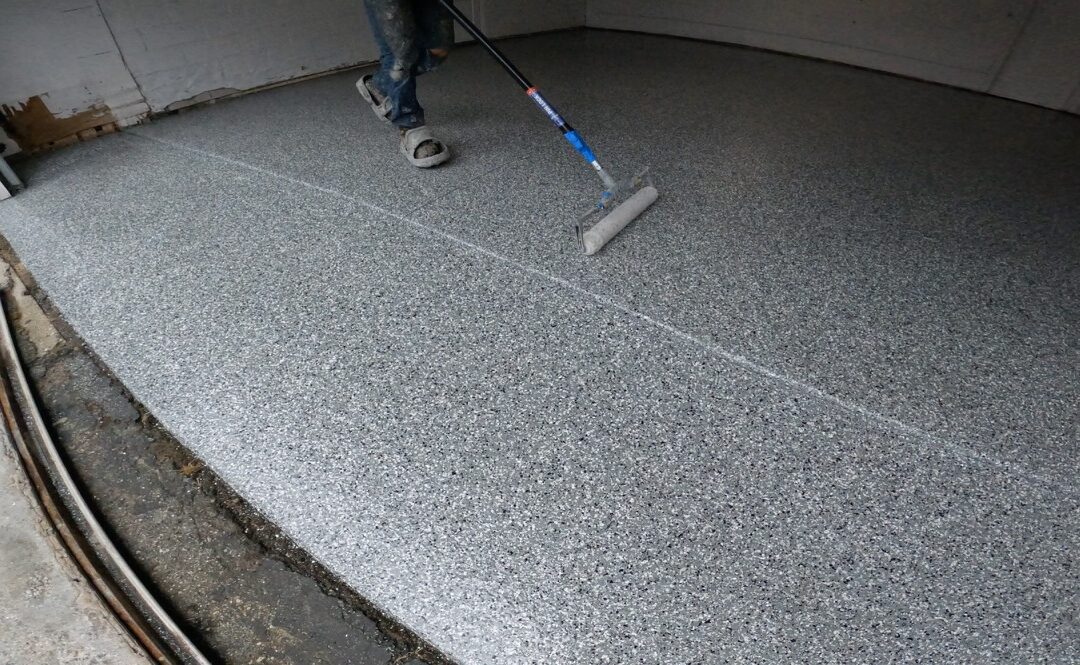
When it comes to installing epoxy flooring in your kitchen, the process involves several key steps. First, you must properly clean and prep the existing floor, ensuring all dust, grease, and other debris are thoroughly removed. Next, you should apply a primer to help the epoxy adhere better to the floor surface. Once the primer is dry, you can apply the epoxy coating, starting at the furthest corner and working your way toward the exit.
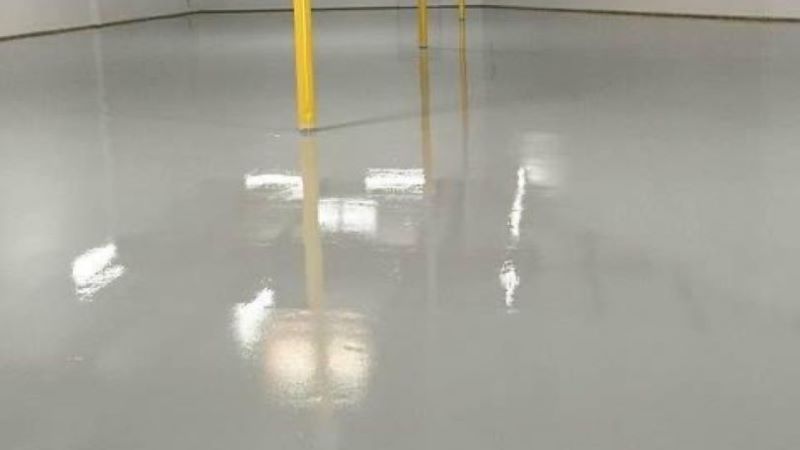
Epoxy Kitchen Floor
While executing these steps, there are several common mistakes to avoid. One of the most prevalent errors is not adequately preparing the floor before applying the epoxy. This can lead to poor adhesion and eventually cause the epoxy layer to peel or crack. Additionally, applying the epoxy in excessively hot or cold temperatures can affect its curing process, resulting in a subpar finish. Finally, always ensure that you mix the epoxy components properly as per the manufacturer’s instructions. Improper mixing can lead to inconsistent color and texture, and even compromise the durability of your flooring.
Maintenance Best Practices and How to Keep your Epoxy Flooring Looking Brand New
Maintaining the pristine condition of your epoxy kitchen floor doesn’t have to be a daunting task. With these best practices, you can ensure your floor continues to look as good as new for years to come.
Start with daily sweeping or dust mopping to keep the surface free from dirt and grit that might cause scratches over time. For deeper cleaning, use a mild detergent mixed with warm water and mop the floor sparingly. Ensure to completely dry the area afterward to prevent water spots or streaks. If you have a spill, act swiftly! Epoxy flooring is resistant to many substances, but a quick response to spills prevents possible stains.
One important practice to remember is to avoid soap-based cleaners, as they can leave a residue on the epoxy flooring, making it look cloudy or discolored. When moving heavy appliances or furniture, use plywood or hardboard under these items to prevent scratches or dents.
If you adhere to these maintenance best practice tips, your epoxy kitchen floor will stay gleaming and brand new for a long time.
Upgrade your kitchen with epoxy flooring— the perfect way to elevate your space. Not only will it give your kitchen a trendy and modern look, but it will also provide long-lasting functionality and durability. Personalize your space with a unique color and design that reflects your style and personality. Plus, save money in the long run with this cost-effective flooring option. Follow our pre-installation tips for a smooth and successful process, and maintain your epoxy floors with ease using our best practices. Don’t wait any longer— transform your kitchen with budget-friendly and practical epoxy flooring. Contact professionals today to take the first step towards an upgraded kitchen experience. You’ll wonder why you didn’t make the switch sooner once you see the beauty and functionality of epoxy flooring in your kitchen!
https://www.google.com/maps?cid=1810621540998150883.

I’m Nathan Endres, owner of Premier Edge Concrete Solutions. I ensure every project showcases quality and excellence. Specializing in landscape curbing and floor coatings, my team and I serve Grand Rapids, MI, with a focus on providing reliable and affordable craftsmanship.

