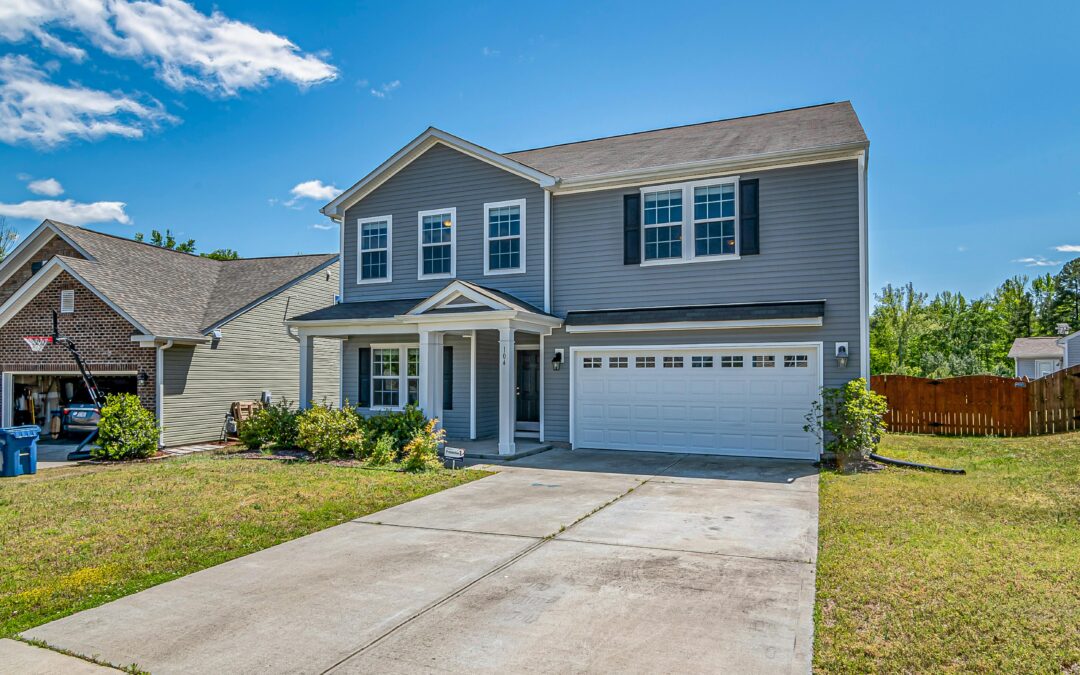
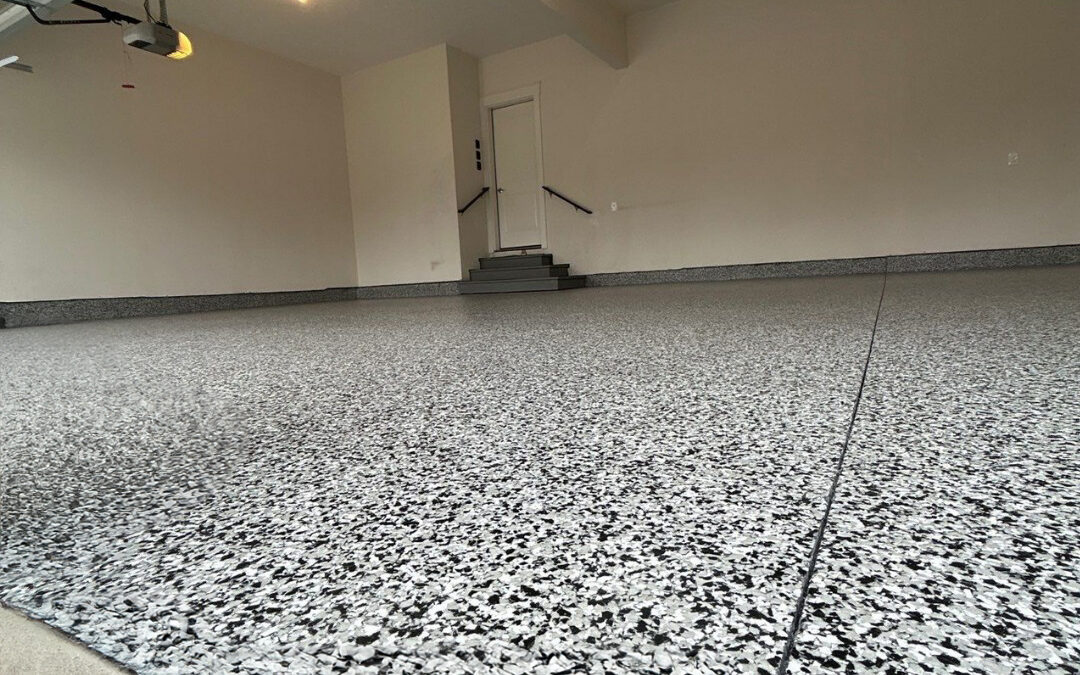
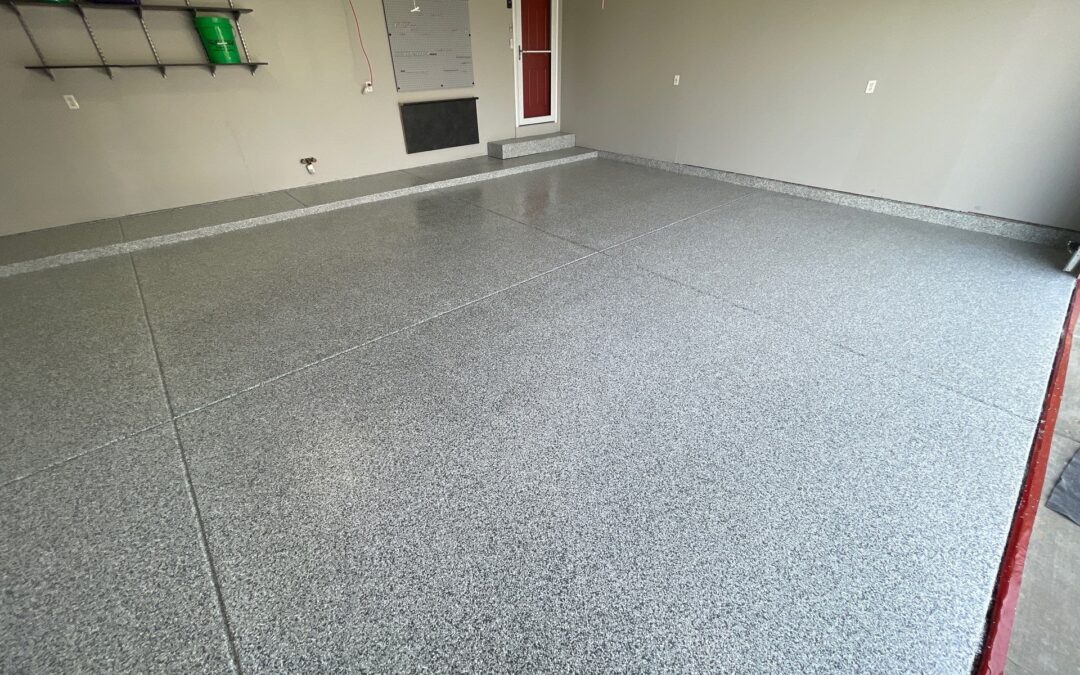
The garage is often the most abused space in a home, yet it holds immense potential for both utility and aesthetics. A professional-grade epoxy floor coating is the ultimate solution, transforming a dusty, stained concrete slab into a seamless, high-gloss, and incredibly durable surface. This isn’t just a cosmetic upgrade; it’s an investment in the longevity and value of your home.
Whether you’re considering a weekend project or trusting the experts, understanding the process is key. Here is your definitive guide to achieving a flawless epoxy garage floor, complete with expert tips from the team at Premier Edge Concrete Solutions.
The Essential Steps to a Flawless Epoxy Floor
Applying an epoxy coating requires precision, patience, and the right materials. Skipping any step can lead to premature peeling, bubbling, or a failed finish. We’ve broken down the process into four highly digestible phases.
Phase 1: Preparation is Non-Negotiable

The success of your epoxy floor is 90% preparation. The coating will only adhere to the surface beneath it.
- Clear and Clean: Remove everything from the garage. Sweep, vacuum, and then thoroughly clean the concrete surface. Oil, grease, and tire marks must be completely removed using a heavy-duty degreaser.
- Repair and Patch: Inspect the floor for cracks, spalls, or pitting. Use a quality concrete repair compound to fill these imperfections. The floor must be smooth and level before coating.
- Etch or Grind: This is the most critical step. The concrete must be profiled (roughened) to allow the epoxy to bond mechanically. For DIY, this usually involves an acid etching solution. For professional results, Premier Edge Concrete Solutions uses industrial diamond grinders to achieve the perfect profile, ensuring a long-lasting finish.
- Dry Completely: The concrete must be bone-dry. Any residual moisture will cause the epoxy to delaminate. Use a moisture meter or the plastic sheet test to confirm the floor is ready.
Expert Tip: For a deep dive into this crucial phase, read our companion article: How to Prep Your Garage Floor for Epoxy: Coating Tips & Considerations.
Phase 2: Mixing the Two-Part System
Epoxy is a two-part system: a resin and a hardener that must be mixed precisely.
- Measure Accurately: Follow the manufacturer’s instructions exactly. Incorrect ratios will prevent the epoxy from curing properly, leaving you with a sticky mess.
- Combine slowly: Pour the hardener into the resin. Use a drill with a Jiffy mixer attachment, mixing slowly for the specified time (usually 2-3 minutes). Mixing too fast introduces air bubbles, which will show up in your final finish.
- Mind the Pot Life: Once mixed, the epoxy has a limited “pot life,” the time before it begins to harden in the bucket. Work quickly and in small batches.
Phase 3: The Application Process
With the floor prepped and the epoxy mixed, it’s time to apply the coating.
- Cut In Edges: Use a brush to “cut in” the perimeter of the garage, including the base of the walls and around any columns.
- Roll the Floor: Pour a ribbon of mixed epoxy onto the floor and use a long-handled roller to spread it evenly. Work in small, manageable sections, rolling in a smooth, overlapping motion.
- Add Flakes (Optional): If you are using decorative flakes, broadcast them onto the wet epoxy immediately after rolling. This provides texture, hides imperfections, and adds a beautiful, professional look.
- Apply a Second Coat: Depending on the product and desired thickness, a second coat may be necessary. Wait the recommended cure time (usually 12-24 hours) before applying the next layer.
Phase 4: Curing and Final Sealing

The final phase is the wait. The curing process is what gives the Epoxy Floor Coating its legendary durability.
- Let it Cure: Follow the manufacturer’s curing time guidelines. This is when the chemical reaction completes.
- Walk-On Time: Generally, you can walk on the floor in 24-48 hours.
- Vehicle Time: Wait a full 5-7 days before driving a vehicle onto the new Garage Floor Coating. Rushing this step is the number one cause of hot-tire pickup and peeling.
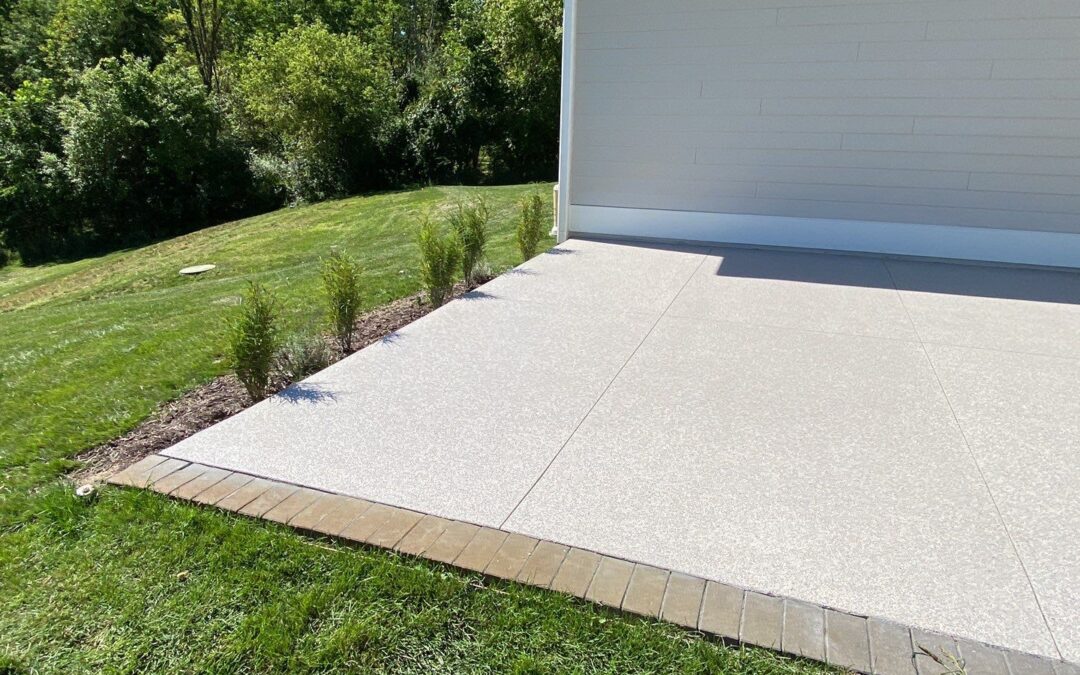
- Topcoat/Sealer: For maximum protection and longevity, a clear polyaspartic or urethane topcoat is highly recommended. This final layer provides superior UV and chemical resistance, along with a brilliant, lasting shine.
DIY vs. Professional: Which Path is Right for You?
While the DIY route can save money, the professional route saves time, guarantees quality, and provides a superior, long-lasting product.
| Feature | DIY Approach | Premier Edge Concrete Solutions (Pro) |
|---|---|---|
| Preparation | Acid etching (less effective) | Industrial diamond grinding (optimal profile) |
| Materials | Water-based or low-solids epoxy kits | High-solids, industrial-grade polyurea and polyaspartic coatings |
| Durability | Prone to peeling, hot-tire pickup, and chemical stains | Extreme resistance to chemicals, abrasion, and UV fading |
| Time Investment | 3-5 days of labor and curing | Often completed in 1-2 days with rapid-curing materials |
| Warranty | None or limited product warranty | Comprehensive, long-term warranty on labor and materials |
| Result | Good, but susceptible to failure | Flawless, seamless, and warrantied Garage Floor Coating |
The Premier Edge Advantage: When you choose a professional installation from Premier Edge Concrete Solutions, you are investing in expertise, industrial-grade materials, and a finish that will last for decades. We specialize in transforming residential and commercial spaces with our robust Commercial Resinous Flooring solutions, including Basement Epoxy Floor coatings.
Frequently Asked Questions
Here are some frequently asked questions about epoxy flooring:
How long does the process take?
A professional installation typically takes 1-2 days, with a return-to-service time of 24-48 hours for foot traffic and 5-7 days for vehicles.
Can I apply epoxy over old paint?
No. All previous coatings, sealers, and contaminants must be completely removed. This is why professional grinding is so important.
What about moisture issues?
If your concrete has high moisture vapor transmission, the epoxy will fail. Professionals like Premier Edge can test for moisture and apply a specialized moisture-mitigating primer to ensure adhesion.
What if I have a basement floor?
Basement Epoxy Floor coatings are a fantastic choice, but moisture control is even more critical. We recommend a professional consultation for any below-grade application.
Expert Tips for Longevity
- Avoid Cheap Kits: Low-cost epoxy kits often contain less than 50% solids, meaning they shrink significantly as they cure, resulting in a thin, less durable finish.
- Consider Polyaspartic: While traditional epoxy is great, modern polyaspartic coatings offer faster curing times and superior UV yellowing resistance, making them ideal for both Outdoor Floor Coating and garage applications.
- Don’t Forget Sealing: Even if you don’t use a full epoxy system, consider Concrete Sealing for any exterior concrete, such as driveways or patios, to protect against freeze-thaw cycles and salt damage.
Final Thoughts
A beautiful, durable epoxy floor is within reach. While the DIY route offers a challenge, the superior quality, speed, and peace of mind that comes with a professional Garage Floor Coating from Premier Edge Concrete Solutions is an investment that truly pays off. Our commitment to using the best materials and proven techniques ensures your floor will look stunning and perform flawlessly for years to come.
Ready to stop worrying about oil stains and start enjoying a garage that feels like an extension of your home? Get a FREE Estimate today!

I’m Nathan Endres, owner of Premier Edge Concrete Solutions. I ensure every project showcases quality and excellence. Specializing in landscape curbing and floor coatings, my team and I serve Grand Rapids, MI, with a focus on providing reliable and affordable craftsmanship.